About This Project
This plan for a cubby is a favorite of mine. It was the first piece of furniture that I built specifically for my daughter's room. It's made almost entirely of MDF, which means that it will be strong, easily paintable, won't warp, and best of all inexpensive. This cubby was inspired by Pottery Barn Kids' Cameron cubby. Hope you enjoy!
$160 = Furniture Store Cost
- $75 = Your Approximate Cost
$85 = WHAT YOU SAVE!
Tools and Materials
- Circular Saw
- Dovetail Hand Saw (or other fine-toothed hand saw)
- Jig Saw
- Finishing Nails
- 1/4" wooden dowels
- 1 1/4" #6 screws
- Wood glue
- 3/4" MDF
- 5/8" MDF
- 1x1
- finishing supplies
Cutlist

Step 1
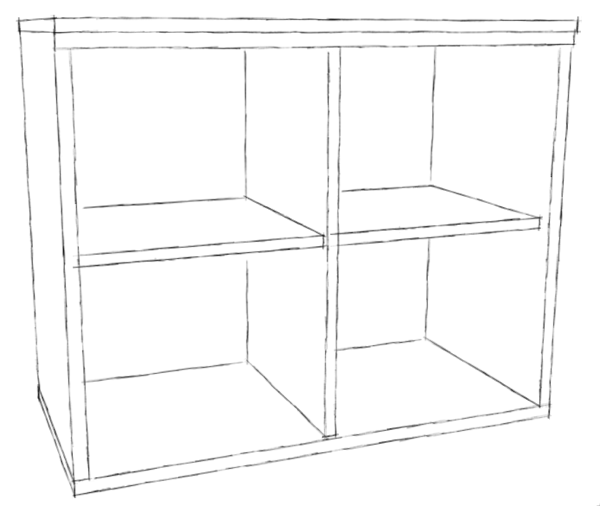
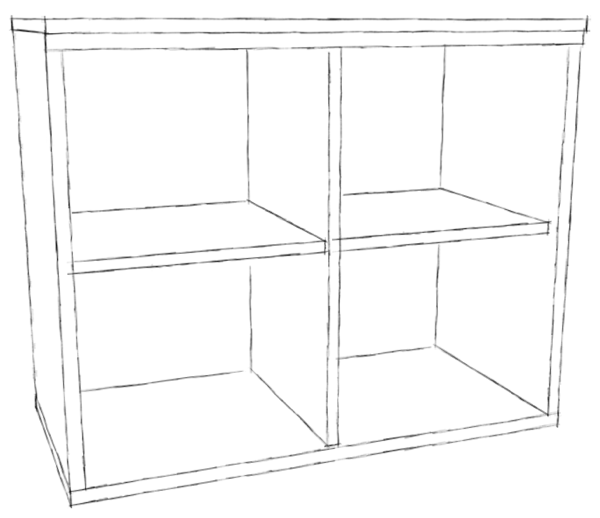
 This is how it should look when we get finished! Excited yet? Let's get started!
Step 2
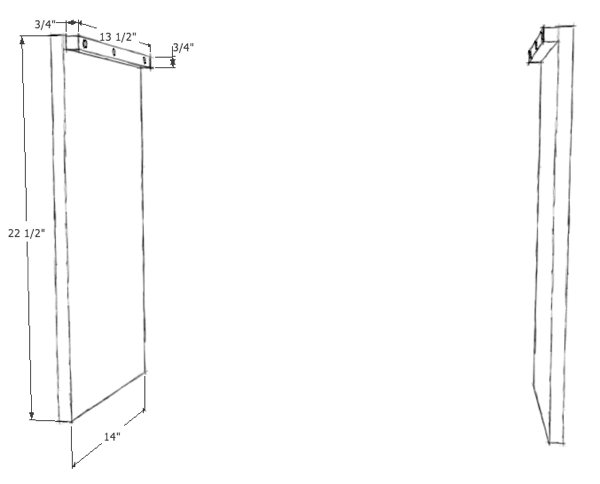
 Attach 13 1/2" 1x1's to the tops of the sides with 1 1/4" screws, keeping them flush with the back and tops of the sides. There should be a 1/2" difference between the front of the side and the front of the 1x1.
Step 3
 Attach 2 1x1's to the top with finishing nails for now, aligning them 5/16" from the midpoint of the top and flush with the back. This will later hold the center divider in place, and we will add screws then.
Step 4
 Make center divider out of 5/8" MDF. Cut a 6 1/2" slot directly in the center of it. This will hold the shelf from the next step.
Step 5
 Cut out slot in the shelf that is 5/8" wide and spans 6 1/2" from the back. Then add dowel pins to the side. Drill the holes 3 1/2" in from the sides of the shelf. Make sure to try and keep the holes as straight as possible. The dowels should stick out about 1/2" or a little less.
Step 6
 Use dowel centering pins in the shelf to align holes directly in the center of both sides. These will hold the dowels from the cubby shelf. Be careful to only drill the holes about 1/2" deep.
Step 7
 Dry assemble the cubby with the dowels inserted. Starting from the top outside 1x1's, drill pilot holes and secure them with 1 1/4" screws both to the top and sides of the cubby. Then attach the center 1x1's the same way, ensuring that the pieces are square and that the back ends and sides are flush. After the top, sides, and center divider are attached through the 1x1's, flip the cubby over and attach the bottom panel with screws drilled in through the bottom. Be sure to drill pilot holes first, as MDF cracks easily.
Step 8
 Attach edging strip to the front top of the cubby to hide the 1x1's, then secure from underneath with 1 1/4" screws.
Step 9
Happy Building!
-Josh


